
How to Hang Your Photos Without Losing Your Mind - Family Photography Brisbane
- Sep 8, 2025
- 4 min read
Updated: Apr 15

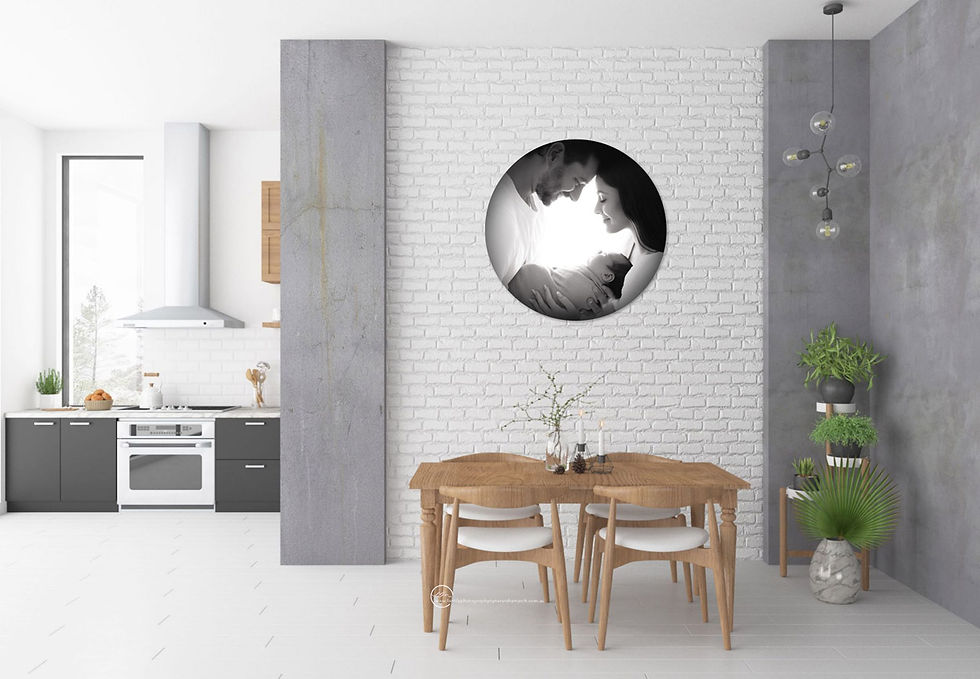
So, you’ve finally got your beautiful new wall art from your session with Family Photography Brisbane photoshoot by Natarsha March!
Cue the happy tears.
But now comes the part no one talks about: actually hanging it.
Whether you’re dealing with one glorious framed print or a whole five-piece gallery of canvases, I’ve got you.
Let’s make sure these beauties don’t end up crooked or collecting dust behind the couch.

Hanging One Framed Photo (Without Swearing at a Spirit Level
You’d think one photo would be the easy option, right? And yet... wonky frames and wall anchors gone rogue say otherwise.
Here’s the no-fuss way to get it right:
What you’ll need:
Measuring tape
Pencil
Painter’s tape (optional but fab)
Spirit level
Wall hook/screws appropriate to your wall type
Hammer or drill (depending on what you’re working with)
The step-by-step:
Pick your spot: Eye level is your friend — about 145cm from the floor to the centre of the frame. Above a couch or piece of furniture? Leave around 15–20cm of breathing room.
Measure & mark: Flip the frame over and measure the distance from the top of the frame to the hanging point (hook or wire tension). Mark this on your wall from your chosen centre point.
Double check with tape: Run painter’s tape across the wall to visualise where the top of the frame will sit. Use your spirit level to make sure it’s straight. This part saves arguments with your partner, promise.
Drill or hammer: Pop in your hook or screw. If it’s a heavy frame, use a wall plug or anchor.
Hang & adjust: Step back and admire. Nudge slightly if needed (because somehow, it still ends up slightly off-kilter, no matter what).

Hanging a 5-Canvas Gallery Wall (AKA: My Favourite Layout Ever)
This is the most popular wall collection I have in the proudct list. A show-stopping 30x40" hero piece in the centre, flanked by four 14x14" prints, two on either side.
It’s balanced, timeless, and makes a big emotional impact. Plus you can split it up to hang in different rooms or add to it easily over time.
But since most families like to hang it in the collection like this, here are some tips to get it just right.
What you’ll need:
Measuring tape
Pencil
Spirit level
Painter’s tape (again, optional but makes life easier)
5 wall hooks or screws
Hammer or drill
Spacing magic:
Leave 5–7cm between each canvas. Trust me, it gives them room to breathe without feeling disconnected.
Hang the middle 30x40” canvas first – this is your anchor.
The centre of the entire gallery should still sit around 145cm from the floor.
Step-by-step:
Find the centre of your wall space and mark where the centre of your large canvas will go. Hang this one first.
From here, measure outwards: mark where the next canvas will go, keeping your 5–7cm gap.
Each canvas is hand crafted, so the wire will not be EXACTLY the same place on each one. They must be measured and hung individually.
Make sure the tops of all canvases line up. You don’t want a bouncy castle effect.
Use a spirit level constantly. Trust nothing. Eyeballs lie. Levels don’t.
Once all five hooks are in, hang them, step back, and say something smug like “I could do this for a living.”
Extra Tips From Someone Who’s Helped Hundreds of Families Hang Their Artrt (Family Photography Brisbane edition)
Don’t overthink it: Straight and central is good. Perfect is overrated. Line up with window frames if youre not sure of height.
Use paper templates: If you’re unsure, trace your canvases onto newspaper or butchers paper, cut them out, and tape them to the wall first. You’ll get a feel for spacing and layout. This is the more physical version of the software we use in the ordering appointment.
Command strips: Good for lighter pieces like the 14x14 canvases, but absolutely NOT suitable for framed prints or the big centre canvas - they need real screws.
Hang once, cry never: Take your time the first time and you won’t have to patch holes later.

Need a Hand?
If you’re stuck on where and how to hang it, just yell out. We can always use my studio software to test our different walls in your home before you commit to the power drill.
I’m always happy to guide you through placement ideas, whether it’s in the lounge, stairwell or hallway of chaos.
And if its all too much to DIY, you can always get in the professionals such as the team at The Art of Hanging - https://artofhanging.com
You invested in these memories.
They deserve to be on display, not living sad little lives on the floor in the hallway.

About the Author
Natarsha March is an award-winning family, baby, and newborn photographer in Brisbane who specialises in creating timeless, heartfelt images that capture the love and connection between families. With years of experience and a passion for working with little ones, she’s known for her relaxed, stress-free sessions that result in beautifully natural photographs. Based in Bunya, Brisbane, Natarsha has helped countless families preserve their most precious moments, from the tiny details of a newborn to the joyful chaos of a growing family. If you're looking for a trusted photographer in Brisbane who values quality, safety, and genuine connection, Family Photography by Natarsha March is the perfect choice.


Comments